

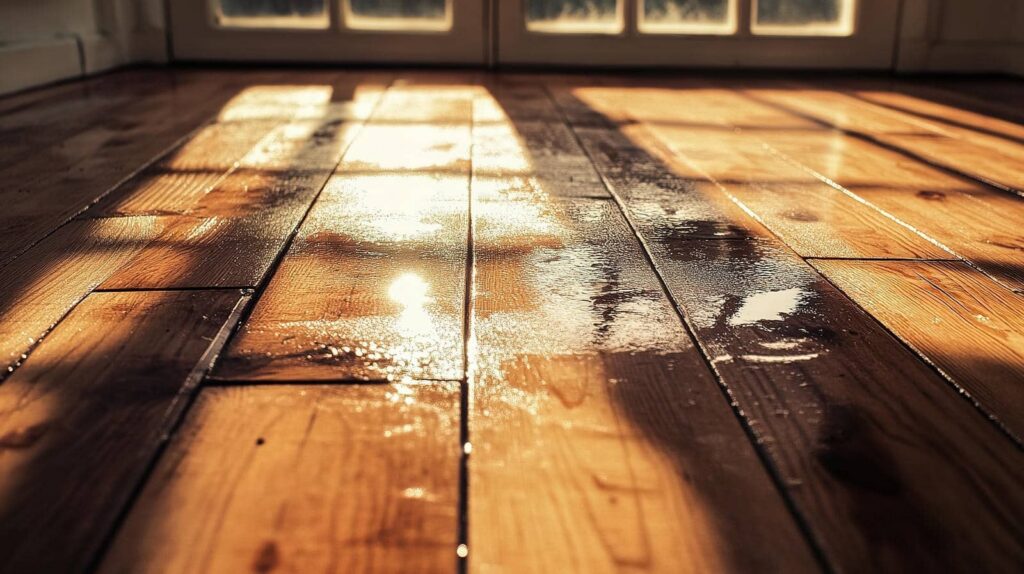
If you notice subtle stains, soft drywall, or a musty odor, you may already have hidden wall moisture problems. Water Damage Repair requires you to trace the source, remove damaged materials, and dry the framing before repair begins. That process can reveal more than surface damage, especially if insulation or fasteners have started to fail. The key is to restore the wall correctly now, before the issue spreads further.
Key Takeaways
- Use moisture meters or thermal tools to find hidden dampness before opening the wall.
- Cut out damaged drywall cleanly above stains to expose the wet cavity and limit unnecessary removal.
- Dry framing and surrounding materials with airflow and dehumidification, then retest moisture levels.
- Inspect studs, insulation, and fasteners for rot or weakness, replacing compromised sections as needed.
- Fix the moisture source and seal leaks, vents, or penetrations to prevent future wall damage.
Spot Hidden Wall Water Damage Early
Hidden water damage often starts where you can’t see it, so you need to watch for subtle warning signs before drywall, framing, and paint deteriorate.
You may notice faint staining, swelling, soft spots, musty odors, or a slight change in wall texture near baseboards, windows, and plumbing lines.
Check for peeling paint, hairline cracks, and cool or damp surfaces after heavy rain or fixture use.
If you catch these clues early, you protect your home’s structure and keep your space safe and comfortable.
Quick wall water damage repair decisions help you stay ahead of worsening moisture and avoid unnecessary disruption.
You’re not alone in this; many homeowners face the same hidden issue, and careful inspection gives you a clear, confident next step.
How Wall Water Damage Repair Works
You start wall water damage repair by detecting moisture with meters or thermal tools so you can map the full extent of the intrusion.
Next, you remove damaged drywall and any compromised materials to expose the wet cavity and stop hidden deterioration.
Then you dry the framing and surrounding structure with controlled airflow and dehumidification so you can stabilize the wall before rebuilding.
Moisture Detection
A moisture map often reveals the full extent of wall water damage before visible staining appears. You can use a pinless meter for broad scans and a pin meter for exact readings at suspicious points.
Infrared imaging helps you spot cooler zones where hidden evaporation is still active, and it often confirms what your eyes can’t see. You’ll compare readings across clean, dry areas and the affected wall so you can identify the moisture boundary with confidence.
Mark every elevated reading, then retest after ventilation or dehumidification to verify whether the wall is drying. This process gives you a clear repair plan and helps you stay aligned with others managing the same issue: accurate detection first, then targeted action.
When you measure carefully, you protect the wall, the structure, and your peace of mind.
Drywall Removal
Cut away compromised drywall once moisture readings confirm the damage zone, because wet gypsum loses strength quickly and can trap water against framing.
You’ll mark clean cut lines above the visible stain, then remove panels with controlled cuts so you don’t disturb sound material.
As you open the wall, you’ll inspect insulation, fasteners, and the backside of the drywall for swelling, delamination, or rust.
Remove only what’s affected, but don’t leave softened edges in place. A tidy opening gives your repair crew access to the cavity and helps your home return to a stable condition.
You’re not overreacting; you’re isolating the problem so the next steps can proceed with confidence, precision, and less risk of hidden deterioration spreading farther.
Structural Drying
Once the damaged drywall is removed, structural drying can begin to stop moisture from lingering in framing, insulation, and adjacent materials.
You’ll see targeted air movers and dehumidifiers placed to pull vapor from hidden cavities and speed evaporation. Technicians may open baseboards, drill small access points, and measure moisture in studs and plates so you know the wall’s core is drying, not just the surface.
This process helps prevent swelling, mold growth, and weakened structural members. You’re kept informed with readings and progress checks, so you can feel confident the repair is on track.
When moisture levels return to safe ranges, the wall can move to cleaning, sealing, and rebuilding. That’s how your space gets back to normal safely.
Replace Wet Drywall Before Mold Spreads
If drywall has stayed wet long enough to soften, swell, or discolor, you should replace it before mold can spread into the wall cavity.
Cut out all compromised sections with clean, square edges, and extend the removal to dry, intact material. Then inspect the exposed area for visible staining, damp insulation, and lingering odor.
If you catch the damage early, you can limit the repair and keep your wall assembly in a healthy state.
Seal any leaks first, then install new drywall that matches the existing thickness and finish. Use fresh joint compound, tape, and primer so the repair blends in cleanly.
When you act quickly and methodically, you protect your home and stay in control of the restoration process together.
Repair Damaged Framing and Support
Inspect the framing and support members next, because moisture can weaken studs, plates, and blocking even after the drywall comes out. You should probe with a screwdriver, check for softness, dark staining, and any movement at joints.
If you find rot, split lumber, or corrosion at fasteners, remove only the compromised sections and install matching dimensional lumber or approved blocking. Keep load paths intact while you work, and brace any wall section that feels unstable.
You’ll also want to reset loose nails or screws and add structural fasteners where connectors lost grip. Measure carefully so new pieces sit flush and square.
When you repair the hidden framework correctly, you restore strength, protect the wall assembly, and keep your home feeling solid, safe, and like it truly belongs to you.
Prime and Paint After Moisture Removal
After the wall has fully dried and any damaged materials are repaired, you can prime the surface to seal stains, improve adhesion, and block lingering moisture marks from bleeding through the finish coat.
Choose a stain-blocking primer matched to your wall material, then apply it evenly with a brush or roller. Let it cure for the full recommended time so the coating bonds correctly.
If patched areas still show texture differences, lightly sand them before painting. Use a high-quality interior paint that matches the room’s conditions and apply thin, uniform coats for consistent coverage.
You’ll get a cleaner finish and a surface that feels restored, stable, and part of your home again.
Prevent Wall Water Damage From Returning
Once the wall looks restored, keep moisture from coming back by fixing the source, not just the surface.
You should inspect plumbing, roof flashing, window seals, caulk joints, and exterior grading, then repair any path that lets water enter. Use a moisture meter after storms and during seasonal changes so you catch hidden dampness early.
Vent bathrooms, kitchens, and laundry areas well, and keep indoor humidity near 30% to 60%. Seal penetrations around pipes and outlets with the right materials, and maintain gutters and downspouts so runoff moves away from your foundation.
If you spot staining, peeling paint, or a musty odor, act fast. By staying alert and sharing a proactive routine with your household, you protect your walls and keep your space healthy together.
Frequently Asked Questions
How Do Professionals Detect Hidden Wall Moisture?
You use moisture meters, infrared cameras, and targeted inspection openings to find hidden wall moisture. Professionals trace staining, check drywall and framing, and confirm readings, so you’ll get accurate diagnosis and confident repair decisions.
When Should Drywall Be Replaced Instead of Dried?
You should replace drywall when it’s swollen, crumbling, moldy, delaminating, or saturated beyond quick drying; otherwise, you can dry it. You’ll protect your home’s structure, finish, and indoor air quality.
Can Damaged Framing Be Repaired Without Full Replacement?
Yes, you can often repair damaged framing without full replacement if you dry it, remove rot, reinforce weakened members, and treat mold. You’ll need an inspection first, because structural compromise usually means replacement.
How Long Must Walls Dry Before Painting?
Usually, you should let walls dry 24–72 hours, but you’ll need a moisture meter to confirm. Paint too soon, and you’re pouring water on a fire; you’ll trap moisture and invite peeling, mold, and failure.
What Prevents Wall Water Damage From Recurring?
You prevent recurrence by fixing the moisture source, sealing leaks, improving drainage and ventilation, replacing damaged materials, and maintaining paint and caulk. You’ll keep walls sound when you inspect regularly and act fast.
Summary
You can finish wall water damage repair after hidden moisture problems by confirming every damp area is dry, sound, and stable. Replace damaged drywall, repair weakened framing, and seal the area with primer before painting. If you fix the moisture source now, you’ll avoid repeat damage later. Think of the final result like a clean reset after a storm: quiet, solid, and ready for normal use. Careful drying and inspection keep your walls protected.