

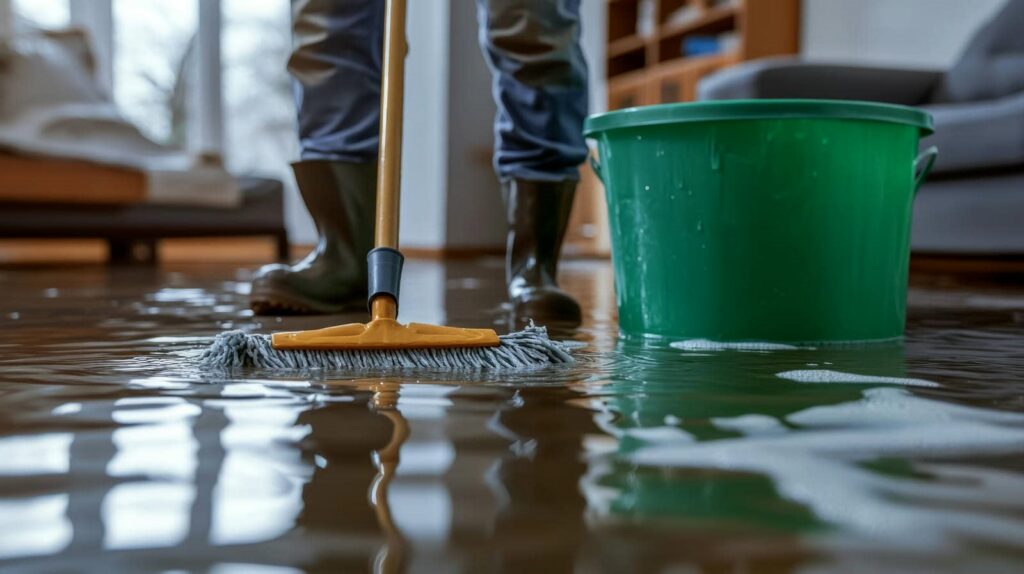
If you spot wet drywall, you need to move fast before the drywall water damage spreads into insulation, framing, and finish materials. Dark stains, soft spots, or a musty odor often mean moisture has already moved behind the surface, where mold and hidden decay can start. The right repair depends on how far the water reached, and the next step isn’t always obvious.
Key Takeaways
- Stop the water source immediately to prevent further drywall and structural damage.
- Check for discoloration, soft spots, bubbling paint, and musty odors to identify wet drywall.
- Dry the area fast with fans, dehumidifiers, and ventilation, while monitoring moisture levels.
- Remove and replace any drywall that is crumbling, sagging, or moldy after the cavity is fully dry.
- Inspect nearby insulation, framing, wiring, and plumbing, then fix leaks and monitor for future moisture.
How to Spot Wet Drywall Damage
Wet drywall often shows clear warning signs that you can spot early if you know what to look for. You may notice discoloration, soft spots, bubbling paint, or a musty odor near the affected area.
Press gently; if the surface feels spongy or crumbles, moisture has likely reached the gypsum core. Check for sagging seams, warped edges, or dark patches around baseboards and ceiling joints.
You’re not dealing with this alone; these clues are common and measurable. If you see them, document the area and arrange wet drywall water damage repair so you can assess the full extent with confidence.
A careful inspection helps you stay in control and protects the structure you rely on every day.
Why Wet Drywall Repair Can’t Wait
Because drywall absorbs moisture quickly, delaying repair lets water spread into insulation, framing, and finishes where it becomes harder to detect and remove.
You need to act fast because saturated panels lose strength, sag, and crumble, which can enlarge the damaged area. Quick wet drywall repair helps you limit the work to the affected section instead of replacing more of the wall later.
It also lets you find the source, stop ongoing intrusion, and verify that adjacent materials stayed dry. When you respond early, you protect trim, paint, flooring, and electrical components from avoidable secondary damage.
That means you’re not facing a bigger, costlier project alone. Prompt action keeps your home safer, cleaner, and easier to restore with confidence.
Dry Wet Drywall Before Mold Starts
Once the leak is stopped, you should dry wet drywall quickly to prevent mold from taking hold in damp paper and hidden cavities.
Start by moving air across the surface with fans and lowering humidity with a dehumidifier. Open nearby doors and windows if outdoor conditions are dry, so moisture can escape.
Check the room temperature and keep it steady, because warmer air helps evaporation. You can use a moisture meter to track progress and confirm the drywall’s core is drying, not just the face paper.
Stay patient and keep the area aired out until readings stabilize. By acting fast and working methodically, you protect your walls, reduce repair costs, and keep your home healthier for everyone who belongs there.
When to Cut Out Damaged Drywall
If drywall stays soft, sags, stains, or crumbles after drying efforts, you should cut it out and replace the damaged section. You’re not overreacting; you’re preventing bigger repairs and helping your space stay safe and stable.
Cut out drywall when:
- The surface still feels spongy or weak.
- Visible discoloration keeps spreading after drying.
- The panel has swollen edges, separated seams, or a musty odor.
Use clean lines and remove only the affected area, so your repair stays efficient and controlled.
If the damage is limited, you can restore the wall with confidence. When you act quickly and decisively, you protect your home, reduce uncertainty, and keep the repair process moving forward with your crew.
Inspect Wall Framing and Insulation
After you remove the wet drywall, check the studs for elevated moisture and signs of warping or decay.
Inspect the insulation to confirm it’s dry, intact, and free of contamination, since wet insulation can trap moisture and reduce performance.
If you find damaged framing, you’ll need to replace it before you close the wall back up.
Check Stud Moisture
Check stud moisture by probing the wall framing and insulation around the damaged drywall, because hidden water can linger even when the surface looks dry. You’ll protect the repair by checking the studs with a moisture meter and noting any readings above normal.
Use a flashlight to spot staining, swelling, or soft spots that suggest trapped dampness. Then:
- Test each exposed stud at several heights.
- Compare wet readings to nearby dry areas.
- Mark any framing that needs extra drying time.
When you verify the wood is dry, you reduce the chance of future odor, warping, or mold growth.
You’re not just fixing a wall; you’re restoring a safe, solid space for your home and everyone in it.
Inspect Insulation Condition
Inspect the insulation closely, because wet drywall water damage repair isn’t complete until you confirm the cavity materials are dry and intact.
You’ll want to look for compressed batts, dark staining, a musty smell, or any fibers that feel cool and damp. If you notice fiberglass insulation that’s clumped or sagging, it likely held moisture and may no longer perform as expected.
In a shared home or busy property, this step helps you protect indoor air quality and keep everyone comfortable.
Use a moisture meter on nearby surfaces, and compare readings across the cavity so you can spot hidden pockets.
If the insulation still feels damp after drying efforts, keep the area open and monitored until it returns to normal, stable condition.
Replace Damaged Framing
When framing has stayed wet long enough to swell, soften, crack, or show dark staining, you’ll need to replace the damaged members before closing the wall back up. You should inspect studs, plates, and blocking for rot, splitting, and fastener corrosion, then remove anything compromised. A solid repair helps your wall stay true and gives your home a healthier rebuild.
- Cut out damaged framing cleanly.
- Fit new lumber that matches the existing size and spacing.
- Treat adjoining areas, then confirm the cavity is dry and sound.
If insulation was soaked or contaminated, replace it too. By addressing both framing and insulation now, you protect the repair, reduce odor and mold risk, and keep your project on track with confidence.
Check for Hidden Moisture Behind Walls
You should use a moisture meter to check areas around the damaged drywall, even when the surface looks dry.
If readings stay elevated, you’ll need to inspect the wall cavity for trapped moisture before you close the wall back up.
This step helps you catch hidden water early and reduce the risk of mold or deeper structural damage.
Moisture Meter Checks
A moisture meter helps confirm whether water has soaked beyond the visible drywall and into the wall cavity. You can use this tool to spot hidden dampness quickly and with confidence, so you’re not guessing about the damage.
By checking several points around the affected area, you build a clearer picture of what needs attention and what’s already drying.
- Test the center of the stain.
- Check the edges where moisture often spreads.
- Compare readings with a dry nearby wall.
When you track these readings, you can judge whether the drywall is safe to keep or needs further repair. That process gives you control, helps protect your space, and keeps you moving toward a clean, healthy home.
Wall Cavity Inspection
After moisture meter checks, inspect the wall cavity to confirm whether water has moved behind the drywall and into framing, insulation, or wiring.
You’ll often need to remove a small section of drywall at the wettest point so you can see the hidden materials directly. Check studs for staining, swelling, or soft spots, and feel insulation for dampness or matting.
If wiring or outlets are nearby, shut off power first and look for corrosion or water tracks. Use a flashlight and camera to document what you find, because clear records help you and your team choose the right repair steps.
If you spot mold, lingering odor, or soaked insulation, plan for fast drying and replacement. Acting now helps your space stay safe, healthy, and ready.
Repair Drywall the Right Way
Repairing wet drywall the right way starts with removing all compromised material and verifying that the wall cavity is completely dry before any patching begins.
You’ll protect the finish by cutting back to solid, unmolded edges and using clean tools throughout the repair. Then you can rebuild the section with confidence and precision.
- Measure the opening accurately and cut a matching drywall patch.
- Fasten the patch securely, keeping seams flush with the surrounding surface.
- Apply tape, compound, and light sanding in thin, even passes.
You’re not just fixing a wall; you’re restoring a space where everything feels settled again.
When you work methodically, the repair blends in and the room looks whole, stable, and ready for normal use.
Prevent Future Water Damage and Mold
Once the drywall is patched and the wall cavity is fully dry, your next step is to stop the same damage from coming back. Inspect roofs, windows, pipes, and appliance lines for leaks, and repair weak seals before moisture enters.
Keep bathrooms, kitchens, and laundry areas ventilated with working exhaust fans, and run a dehumidifier if indoor humidity stays high. You should also slope grade away from the foundation and clean gutters so water drains properly.
Inside, monitor stains, soft spots, and musty odors, because those signs often signal hidden moisture. If you act early, you protect your home’s structure and your household’s health.
You’re not just fixing a wall—you’re keeping your space safer, drier, and more resilient together.
Frequently Asked Questions
How Long Does Wet Drywall Take to Dry Completely?
Wet drywall usually takes 2 to 5 days to dry completely, but you’ll need 24 hours to a week depending on saturation, airflow, and temperature. You can speed drying with fans, dehumidifiers, and prompt cleanup.
Can Wet Drywall Be Saved Without Replacing It?
Yes, you can often save wet drywall if you dry it quickly, remove the moisture source, and inspect for swelling or mold. You’ll feel confident when you act fast and prevent hidden damage.
What Tools Help Detect Moisture Inside Walls?
You can use a moisture meter, thermal imaging camera, hygrometer, and inspection probe to find hidden dampness inside walls. You’ll spot wet areas faster, confirm drying progress, and avoid mold before it spreads.
Should Baseboards Be Removed During Drywall Drying?
Yes, you should remove baseboards if they trap moisture; you’ll let air reach the lower wall and dry the cavity faster. If they’re already warped or swollen, replace them to protect your home’s finish.
Does Insurance Cover Wet Drywall Water Damage Repair?
Yes, you may get coverage if the damage came from a sudden, accidental event. You’ll need to document the source, act quickly, and review exclusions, because gradual leaks often aren’t covered.
Final Thoughts
When you spot wet drywall, act fast to keep the damage from spreading. For example, if a leaking pipe leaves a 2-foot stain behind a bathroom wall, you should stop the leak, dry the area, and remove any softened drywall before mold takes hold. Check framing, insulation, and hidden moisture, then repair the wall correctly. By moving quickly, you protect your home’s structure, finish, and indoor air quality, and you avoid much bigger repairs later.