

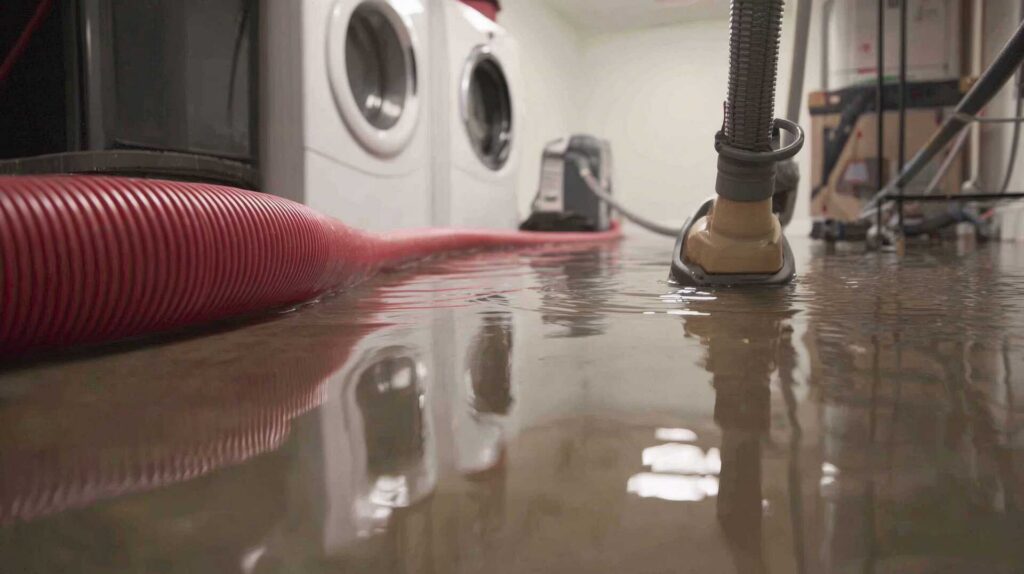
When a pipe bursts like a scene from a bad omen, you need to act fast: shut off the main water supply, document the damage, and inspect walls and floors for hidden moisture. You should dry the area with fans and dehumidifiers, then remove compromised drywall, flooring, and insulation. What you find behind the surface can change the pipe repair plan entirely.
Key Takeaways
- Shut off the main water supply immediately and relieve pressure by opening nearby faucets.
- Move valuables and electrical items away, then document all damage with photos for insurance claims.
- Inspect walls, floors, and baseboards for hidden moisture, warping, soft drywall, and musty odors.
- Dry the area fast with pumps, fans, and dehumidifiers, and remove soaked drywall or flooring.
- Repair plumbing and structural damage, then use pressure regulators and regular inspections to prevent future bursts.
Stop the Leak and Shut Off Water
Act quickly to stop the leak and shut off the water supply at the main valve as soon as you discover a burst pipe.
Then open nearby faucets to relieve pressure and reduce further discharge.
If you can safely reach the damaged section, wrap it with a rubber patch or clamp to limit flow until help arrives.
Move valuables, tools, and electrical items away from the wet area, and keep people clear of slippery floors.
Document the damage with photos for your burst pipe repair after water damage claim and response record.
You’re not handling this alone; fast action protects your home and your crew of helpers from escalating losses.
Once the water’s off, contact a licensed plumber and restoration team to begin controlled cleanup and repairs.
Look for Hidden Water Damage in Walls and Floors
Check walls for moisture signs such as discoloration, peeling paint, soft drywall, or a musty odor.
Inspect floors for cupping, warping, buckling, or spongy sections that indicate water intrusion below the surface.
Use targeted hidden leak inspection behind baseboards, under flooring, and near pipe penetrations to locate damage before you start repairs.
Wall Moisture Signs
After a burst pipe, walls and floors often hide moisture long after surface water is removed. You should inspect wall signs with a moisture meter, not guess. Readings above the normal range, usually near 12% to 15% in drywall, suggest trapped water.
Look for paint that bubbles, seams that lift, baseboard swelling, and faint staining that spreads beyond the leak line. Press gently; soft drywall or crumbly joint compound means the wall has absorbed water. Trust your nose, too: a musty odor often signals damp insulation behind the surface.
If you hear a hollow drip or notice cool, clammy patches, document them and call a qualified restorer. Acting early helps you stay ahead of mold, protect your space, and get back to normal faster.
Floor Damage Clues
A burst pipe can leave floor damage that looks minor at first but keeps spreading underneath the surface. You may notice soft spots, buckling planks, lifted tile edges, or vinyl that no longer lies flat.
Darkened seams, swollen boards, and a musty odor also point to trapped moisture. When you walk across the floor, listen for crunching, shifting, or bounce that wasn’t there before.
Check baseboards and trim for staining where water wicks upward. If you see cupping, gaps, or a spongy feel, act quickly.
Drying works best when you catch damage early, so protect your home and your crew by limiting foot traffic. Fast response keeps repairs simpler and helps your space feel safe again.
Hidden Leak Inspection
When a pipe bursts behind a wall or under a floor, hidden moisture can travel far beyond the visible damage. You need to inspect baseboards, drywall seams, trim, and flooring connections for swelling, staining, or soft spots.
Use a moisture meter to compare suspect areas with dry sections, and check both sides of shared walls when possible. Smell for musty odors; they often point to trapped water.
In crawlspaces and beneath cabinets, look for rusted fasteners, warped subflooring, and insulation that feels damp. If you find elevated readings, document the area and isolate it for drying.
You’re not handling this alone; a careful inspection helps your repair team target the leak, prevent mold, and restore your rooms with confidence.
Dry Out Burst Pipe Water Damage Fast
You need to remove standing water immediately with pumps, wet vacs, and absorbent materials to limit saturation in walls, floors, and fixtures.
Then you should increase airflow with fans and run dehumidifiers continuously to lower humidity and speed evaporation from affected materials.
Check moisture levels in structural components and finish with targeted repairs once readings return to safe limits.
Immediate Water Removal
Once the burst pipe stops leaking, remove standing water immediately to limit seepage into flooring, drywall, insulation, and framing.
You should shut off power to wet areas first, then use a wet/dry vacuum, mop, and absorbent towels to clear every visible puddle. Work from the outer edges toward the center so you don’t spread contamination.
Lift rugs, baseboards, and loose flooring only if you can do it safely, and place salvaged materials in a dry staging area.
Check under cabinets and along wall plates for trapped water, because hidden moisture can keep migrating.
Mark wet zones, bag damaged debris, and document conditions for repairs and claims.
When you act fast and methodically, you protect your space and help your home recover with the fewest surprises.
Airflow And Dehumidifiers
After you’ve removed standing water, set up strong airflow and dehumidifiers right away to pull moisture out of floors, drywall, insulation, and framing before it spreads further.
Place high-velocity fans to move air across wet surfaces, not directly into walls, and keep doors open when possible so air can circulate through the affected area.
Run refrigerant or desiccant dehumidifiers continuously to lower indoor humidity and speed evaporation.
You’ll dry materials faster when warm, dry air keeps moving and moisture has a clear path out.
Empty drain buckets, check filters, and keep equipment operating day and night until conditions stabilize.
In a shared home, this steady setup helps everyone feel more in control and keeps the space on track for safe recovery.
Moisture Checks And Repairs
As airflow and dehumidification pull moisture from the structure, keep checking wet materials so you know what’s drying and what’s still holding water.
Use a moisture meter on drywall, framing, subflooring, and base plates, and compare readings to nearby dry areas.
Lift insulation, remove trim, and inspect hidden cavities so you don’t trap moisture behind finishes.
If readings stay elevated, keep the drying equipment running and open the area for targeted access.
You’ll need to cut out swollen drywall, warped flooring, or contaminated insulation when materials won’t return to safe levels.
Mark repair zones clearly, document every reading, and replace only what’s damaged.
That keeps your crew coordinated, your home stable, and your cleanup on track toward a complete repair.
Remove Damaged Drywall, Flooring, and Insulation
Cut out and remove any drywall, flooring, or insulation that’s visibly soaked, swollen, delaminated, or contaminated, since these materials trap moisture and can keep damage spreading.
You should mark the damaged area first, then cut slightly beyond the visible line so you reach clean, dry material. Use proper PPE, contain dust, and bag debris as you work.
Pull baseboards and trim only if they’re holding moisture or blocking access. If carpet and pad stayed wet for long, remove them to expose the subfloor.
Keep salvageable materials separate from waste so your team can document what’s reusable.
After removal, vacuum loose debris, inspect cavities, and leave surfaces open for drying. Acting quickly helps your space recover with the rest of your crew.
Repair Plumbing and Structural Damage
With the wet materials removed, you can inspect and repair the source damage before you close anything back up.
Shut off the water, cut out the failed pipe section, and replace it with code-matched piping, fittings, and approved connectors. Tighten joints to spec, solder or crimp correctly, and pressure-test the line before restoring service.
Check nearby framing, subflooring, joists, and sill plates for swelling, splitting, or loss of load capacity. You may need to sister damaged members, add blocking, or replace compromised sections to keep the assembly sound.
Refasten loose plates and rebuild openings so the pipe path stays aligned. Keep access panels where needed, and verify clearances around valves, traps, and cleanouts.
When you’re methodical here, your repair crew works as one team, and the structure stays ready for finish restoration.
Prevent Mold and Future Pipe Bursts
Once the structural repairs are complete, you need to dry the area thoroughly and prevent conditions that let mold take hold. Run dehumidifiers, increase airflow, and remove damp insulation or drywall before spores spread. You should also disinfect hard surfaces and monitor humidity until it stays below 60%.
- Inspect hidden cavities with a moisture meter.
- Replace corroded fittings, aging hoses, and weak supply lines.
- Install insulation and pressure regulators to reduce freeze and surge risk.
When you act quickly, you protect your home and keep your space healthy for everyone who lives there.
Schedule a plumbing check after any major leak, because early correction stops repeat bursts and keeps repaired walls and floors stable.
Stay consistent, and you’ll keep your home dry, safe, and ready for daily life.
Frequently Asked Questions
How Much Does Burst Pipe Repair Usually Cost?
You’ll usually pay $150–$1,000 for a burst pipe repair, depending on location, materials, labor, and access. If water damaged walls or floors, you’ll also need drying and restoration, which can raise costs quickly.
Does Homeowners Insurance Cover Burst Pipe Water Damage?
Yes, you’re usually covered if the pipe burst suddenly, not from neglect; oddly, the leak often appears where you least expect. Check your policy, document damage, and start cleanup fast to protect your claim.
How Long Does a Burst Pipe Repair Take?
You’re usually looking at a few hours for a simple pipe swap, or one to three days if access, drying, and testing take longer. You’ll move faster when you isolate water early and inspect thoroughly.
Can I Stay in My Home During Repairs?
Yes, you often can, but wouldn’t you want to confirm safety first? You should stay only if utilities remain safe, drying equipment runs properly, and crews isolate work areas to limit dust, noise, and moisture spread.
Who Should I Call First After Discovering a Burst Pipe?
Call your water utility or emergency plumber first, then shut off your main valve and electricity if needed. You’ll protect your home faster, reduce damage, and join the repair process with confidence and control.
Recap
When you stop the leak, you protect the structure; when you find hidden moisture, you stop hidden damage; when you dry the walls and floors, you reduce mold risk. Replace damaged drywall, flooring, and insulation, then repair the plumbing and any weakened framing. Finally, maintain proper pressure, inspect regularly, and act fast on small leaks. If you follow these steps, you’ll restore your home, prevent repeat bursts, and keep it dry.