

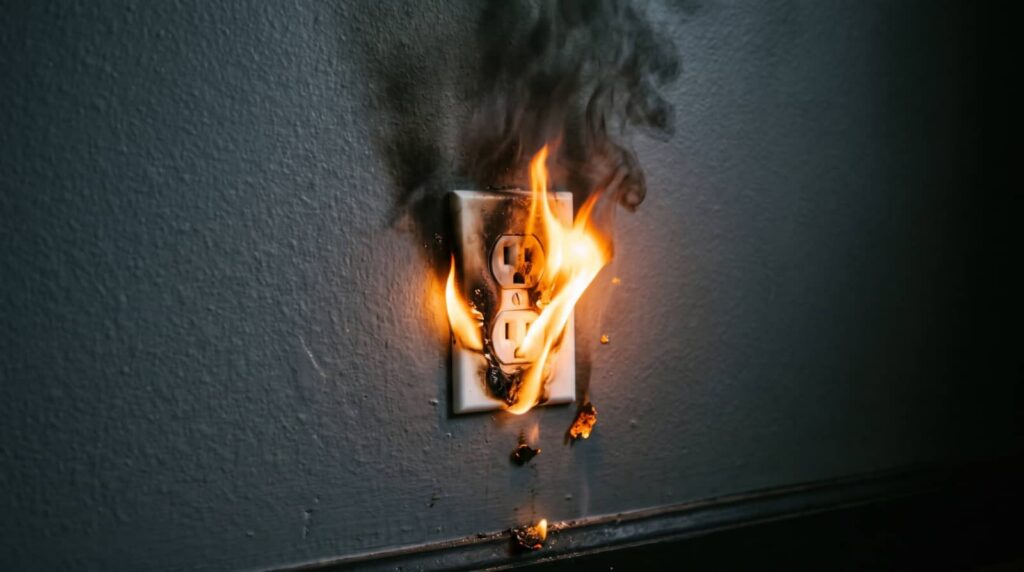
When you face soot damage on walls, ceilings, and contents, you need to move fast but with control. You’ll assess each surface, stop loose residue from spreading, and choose the right method for painted finishes, trim, furniture, and fabrics. Some materials need dry cleaning only, while others can’t tolerate moisture at all. The real challenge is knowing what to clean first and what to set aside before the damage gets worse.
Key Takeaways
- Wear protective gear, isolate the area, and shut off HVAC to prevent soot from spreading.
- Inspect surfaces for dry, powdery soot versus oily residue, staining, warping, and odor before cleaning.
- Start walls and ceilings with a dry cleaning sponge, working top-down, then use mild detergent for stubborn residue.
- Use a HEPA vacuum for vents and seams, and pack jewelry, coins, and collectibles individually in clean, dry containers.
- Call professionals if soot is widespread, streaking, oily, or affecting delicate finishes, upholstery, or multiple rooms.
What Soot Damage Cleanup Involves
Soot damage cleanup involves removing the black, acidic residue left behind after a fire from walls, ceilings, furniture, and personal belongings. You’ll use soot damage cleanup to stop corrosion, discoloration, and lingering odors from spreading through your space.
You should wear protective gear, isolate the affected area, and use dry methods first to lift loose particles without smearing them. Then you can apply the right cleaning agents for painted surfaces, fabrics, and hard contents.
Vacuuming with HEPA filtration helps capture fine soot safely. You’ll also bag debris, wash salvageable items, and dry everything fully to reduce secondary damage.
When you work methodically, you protect your home, support your recovery, and help your place feel like yours again.
Assess Soot Damage on Surfaces and Belongings
Before you clean, inspect every affected surface so you can judge the type and extent of soot damage. You should note whether residue looks dry and powdery or oily and sticky, because that tells you how it will respond to cleanup.
Check walls, ceilings, trim, upholstery, and contents for staining, etching, warping, and odor. Test small hidden areas to see if color lifts or finishes smear.
Rank items by material: porous surfaces, coated surfaces, metals, and electronics each need different handling. Document every affected piece with clear notes, so you can track what needs professional restoration and what you can safely treat.
This step helps you protect your space, keep your crew organized, and make sure no valued belonging gets overlooked during soot damage cleanup.
Stop Soot From Spreading
Once you’ve confirmed the affected areas, keep contamination from moving by limiting traffic, shutting off HVAC systems, and closing off the room.
Post simple signs so everyone on your team knows where to avoid walking, and use one entry point only. If you need to move through the space, wear clean protective gear and change gloves and shoe covers before entering other rooms.
Seal doors, vents, and gaps with plastic sheeting and tape to reduce air movement. Keep windows closed unless ventilation is part of an approved containment plan.
Remove loose debris carefully, and place soiled materials in lined containers or bags right away. Handle contents gently so you don’t shake particles free.
Your team stays aligned when you control movement early and consistently.
Clean Soot Off Painted Walls Safely
You can lift loose soot from painted walls with a dry cleaning sponge, using light, straight passes to avoid grinding residue into the finish.
If buildup remains, you should switch to gentle wall cleaning with a mild detergent solution and a soft cloth, testing a small area first.
Keep moisture minimal and work from the top down so you don’t streak or spread the stain.
Dry Cleaning Sponges
Dry cleaning sponges lift loose soot from painted walls without adding moisture, which helps prevent smearing and paint damage during cleanup. You should use them as your first dry pass, especially on flat painted surfaces where residue sits lightly.
Hold the sponge flat, then make short, straight strokes with light pressure. Rotate to a clean face often so you don’t redeposit soot.
- Test a small area first.
- Replace the sponge when it loads up.
- Work from top to bottom.
- Bag used sponges right away.
This method helps you stay in control and keep the surface looking consistent while you remove dry residue.
If you’re part of a cleanup team, this simple step gives everyone a reliable starting point.
Gentle Wall Cleaning
After the dry pass, wash painted walls with a mild cleaning solution and a soft sponge or microfiber cloth to remove the soot film without abrading the finish.
Work from the bottom up or in small sections, and wring out excess water so you don’t drive residue into the paint. Rinse the sponge often, and change the solution when it darkens.
If you see streaking, lighten your pressure and use cleaner water. Test any detergent in a hidden spot first.
Keep vents off until the surface dries. For stubborn areas, repeat the pass rather than scrubbing hard. You’re protecting the coating while restoring the room’s clean, shared feel.
If the paint softens, chalks, or stains bleed through, stop and call a restoration pro.
Remove Soot From Ceilings and Trim
Ceilings and trim often hold the heaviest visible soot, so start there to prevent residue from falling onto cleaned surfaces below. You’ll work from the room’s farthest point back toward the exit, keeping your path controlled and efficient.
Use a dry soot sponge first, then a lightly damp microfiber cloth if the finish allows. Stay gentle; pressure can smear carbon and make stains harder to lift.
- Wear gloves and eye protection.
- Tape off vents and openings.
- Replace cloths often to avoid redepositing soot.
- Test a small area before broader cleaning.
When you keep your strokes consistent, you protect the surface and build momentum. That steady approach helps your space feel recoverable, not overwhelming.
Restore Furniture and Hard Contents
Once the overhead surfaces are clear, move to furniture and hard contents by sorting items into cleanable, damaged, and discard categories.
You’ll work faster when you group similar materials together and label each piece before moving it.
Start with dry removal: use a HEPA vacuum, soft brush, and microfiber cloth to lift loose soot without grinding it in.
Then clean finished wood, metal, glass, and hard plastic with the least aggressive method that removes residue.
Test a small hidden spot first, and dry each item fully to prevent streaking or corrosion.
Inspect joints, drawers, and undersides for hidden contamination.
If an item smells smoky after cleaning, isolate it for deeper treatment.
Keep your team aligned, document progress, and protect the restored pieces from recontamination.
Clean Fabrics, Electronics, and Valuables
You’ll need to clean fabrics with methods matched to the material, such as dry soot removal, controlled washing, or professional textile treatment.
For electronics and valuables, you should avoid power-on use, inspect for residue intrusion, and clean them with approved non-abrasive techniques.
If soot has penetrated delicate items, document the damage and use a specialist to prevent further loss.
Fabric Cleaning Methods
For fabrics, electronics, and valuables, cleanup starts with careful sorting and testing so technicians can match the right method to each material.
You’ll protect fibers, dyes, and finishes by choosing the least aggressive process that still removes soot and odor. Dry soot lifts best with HEPA vacuuming, while oily residue often needs solvent spotting and controlled wet cleaning. Always check care labels, colorfastness, and trim before you proceed.
- Pretest an inconspicuous area
- Vacuum loose particles with a soft brush
- Apply approved cleaning agents sparingly
- Air-dry flat to prevent distortion
You’ll keep textiles in the restoration stream longer when you avoid scrubbing and heat. That approach helps your items recover cleanly and keeps your space feeling like home again.
Electronics And Valuables
Electronics and valuables need a different approach than fabrics because moisture, heat, and abrasion can cause permanent damage fast.
First, disconnect power and remove batteries if you can do so safely. Then photograph each item for your records and separate fragile pieces for priority handling.
You should never spray cleaners directly onto devices; instead, dry-dust soot with a soft brush or microfiber cloth, and use a HEPA vacuum with gentle suction near vents and seams.
For jewelry, coins, and collectibles, pack each item individually in clean, dry containers.
If you smell burned insulation or see melted components, stop and call a restoration pro. Quick, careful action helps protect both value and your peace of mind.
When Soot Cleanup Needs a Professional
When soot has spread beyond a small, dry surface film, professional cleanup is often the safest choice because fire residue can embed in paint, fabrics, and porous materials. You can handle light dusting with dry methods, but deeper contamination needs controlled tools and tested products.
- You see streaking, smearing, or oily residue.
- Soot covers ceilings, HVAC openings, or multiple rooms.
- Delicate finishes, upholstery, or trim need restoration.
- You want to reduce the risk of pushing residue deeper.
A trained crew can assess material damage, isolate affected areas, and match cleaning methods to the surface. That helps you protect your home, work faster, and avoid avoidable rework.
If the damage feels widespread or uneven, trust a qualified team and stay focused on restoring your space.
Prevent Lingering Smoke Odor and Residue
Even after visible soot is gone, odor and residue can keep releasing from walls, fabrics, and hidden cavities if you don’t clean them fully.
You need to remove loose soot, then wash surfaces with a residue-lifting detergent matched to the material. Clean ceilings, trim, HVAC returns, and cabinet interiors, because smoke particles travel far.
Launder soft goods with odor-neutralizing agents, and replace porous items that still smell after cleaning. Seal cleaned, stable surfaces only if a pro confirms the film is gone.
Run HEPA filtration and, when needed, hydroxyl or ozone treatment in unoccupied spaces to reduce trapped odor. Check seams, attics, and wall voids for hidden contamination.
When you finish thoroughly, your home feels safer, cleaner, and ready for everyone again.
Frequently Asked Questions
How Soon Should Soot Cleanup Begin After a Fire?
You should start soot cleanup as soon as it’s safe, ideally within hours. You’ll reduce staining, corrosion, and odors, and you’ll protect surfaces, contents, and indoor air quality before damage sets in.
Can Soot Damage Affect Indoor Air Quality Long-Term?
Yes, it can subtly compromise your indoor air quality long-term. You’ll breathe lingering particles and irritants if you don’t remove residue promptly. Professional cleanup helps you restore healthier air and protect your home’s comfort.
Does Insurance Typically Cover Soot Cleanup Costs?
Usually, yes, if your policy covers fire damage. You’ll need to document the loss, review exclusions, and file quickly. Your adjuster can confirm covered cleaning, repairs, and contents so you can restore your space.
How Do You Tell if Soot Is Toxic or Hazardous?
You tell soot’s hazardous if it’s oily, acidic, metallic, or smells chemical, and if it irritates skin, eyes, or lungs. After fires involving plastics, fuel, or wiring, you should treat it as toxic.
Can Soot Stain Reappear After Initial Cleaning?
Yes, soot can reappear if residue remains, moisture rises, or surfaces weren’t sealed. You’ll need thorough cleaning, proper drying, and sometimes encapsulation to stop hidden particles from bleeding back through later.
Final Thoughts
You can finish soot damage cleanup by matching each surface to the right method: dry sponge for painted walls, HEPA vacuum for trim, and careful dry cleaning for contents. As you work from the ceiling down to the floor, the room clears in layers, like smoke lifting from glass. Keep moisture away from electronics and fabrics, and stop if damage runs deep. When the soot’s widespread, you’ll save time and reduce risk by calling a professional.