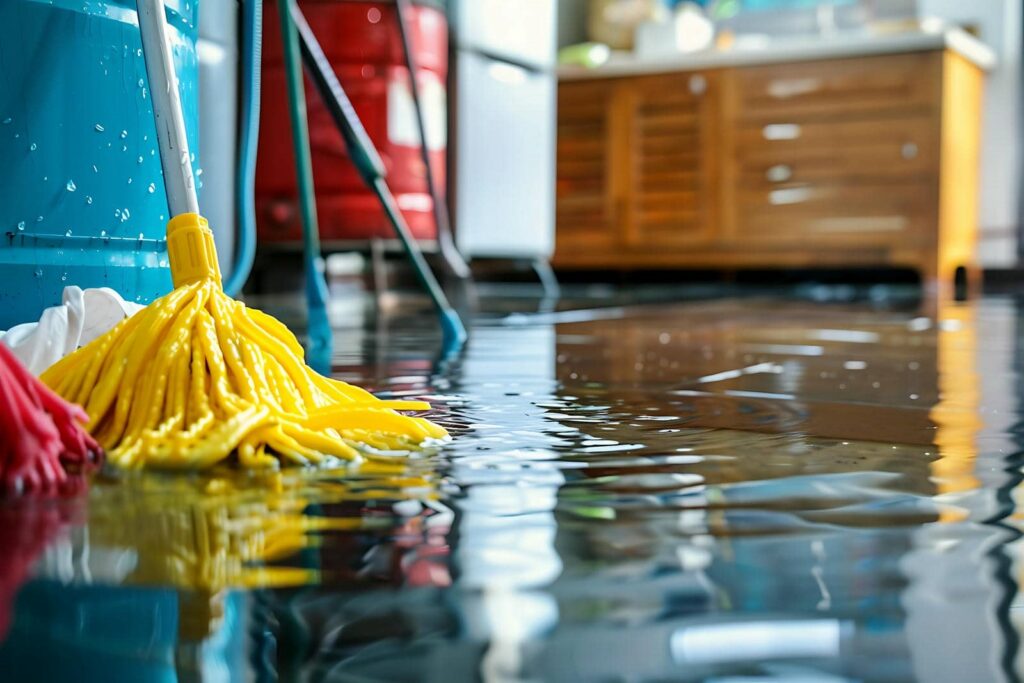
If your basement carpet soaks up a burst pipe overnight, you need to dry it fast and in the right order. You extract standing water, set air movers, and control humidity so hidden moisture doesn’t stay trapped in framing or subfloors. Moisture meters tell you whether materials are still wet, but the real challenge comes when drying slows in concealed spaces and mold risks start to rise.
Key Takeaways
- Water damage drying removes moisture from materials, air, and hidden cavities to restore safe moisture levels.
- The process usually includes water extraction, dehumidifier setup, and air movers to speed evaporation.
- Controlled drying helps prevent mold growth, odors, staining, and structural weakening.
- Moisture meters and daily monitoring track progress and identify hidden dampness or problem areas.
- Effective drying requires uninterrupted equipment operation and good airflow for a successful restoration.
What Is Water Damage Drying?
Water damage drying is the controlled removal of moisture from affected materials, air, and hidden cavities after a water intrusion.
You use the water damage drying process to bring building materials back toward safe moisture levels and reduce the risk of further deterioration.
This work matters because trapped moisture can remain in walls, floors, and contents even when surfaces look dry.
You’ll often monitor humidity, material conditions, and hidden spaces to verify progress.
When you understand drying, you can support a faster recovery and protect the structure you belong in.
Proper drying isn’t just cleanup; it’s a technical response that helps preserve materials, limit secondary damage, and prepare the area for full restoration.
Steps in the Water Damage Drying Process
You start the drying process by extracting standing water with pumps, wet vacuums, or other removal equipment.
Next, you set up dehumidifiers to lower moisture in the air and accelerate evaporation from affected materials.
Together, these steps help you dry the structure efficiently and reduce the risk of secondary damage.
Water Extraction
Fast, thorough extraction removes standing water and limits further damage before drying begins. You should act quickly, because water wicks into pads, subfloors, and wall cavities.
Use pumps, wet vacuums, and weighted extractors to pull moisture from hard surfaces and porous materials. Work from the highest remaining water toward the lowest point, and overlap passes for consistent removal. Check hidden pockets under furniture and inside trapped edges, then repeat until no pooling remains.
- Remove loose items so you can access affected areas safely.
- Extract in sections to keep your team organized and efficient.
- Verify each area by touch and inspection before moving on.
When you handle extraction correctly, you set up the rest of the drying process with confidence and control.
Dehumidification Setup
Set dehumidifiers immediately after extraction to pull residual moisture from the air, building materials, and hidden cavities. You should choose the right type and size based on the affected square footage, temperature, and humidity.
Place units in the driest path for airflow, then close the room to create a controlled drying chamber. Run your air movers first to keep air cycling across wet surfaces, then let the dehumidifiers remove that airborne vapor.
Monitor relative humidity, temperature, and grain depression twice daily, and adjust placement if readings stall. Empty or drain collection lines so equipment keeps working without interruption.
In your crew, everyone should verify cords, filters, and seals. When you set the system correctly, you help your space dry faster and protect it from secondary damage.
How Pros Remove Moisture Fast
You’ll remove moisture fast by using high-powered extraction equipment to pull bulk water from carpets, padding, and structural materials.
Then you’ll position air movers to create strategic airflow across wet surfaces and speed evaporation.
You’ll also direct that airflow to avoid dead zones, so drying stays even and efficient.
High-Powered Extraction
High-powered extraction removes standing water quickly with truck-mounted vacuums or portable extractors, pulling moisture from carpets, padding, hardwood seams, and other porous materials before it spreads deeper.
You’ll reduce saturation fast, which helps protect your structure and keeps cleanup on track. Technicians target wet zones, make repeated passes, and verify pickup until surface water drops to a manageable level.
This step also limits wicking into walls and baseboards, so you’re not fighting hidden moisture later.
- Rapid water removal lowers overall drying time
- Thorough extraction reduces secondary damage risk
- Fast action supports a smoother restoration process
When you act early, you join the process that pros use to stabilize the site and prepare it for the next phase of drying.
Strategic Airflow Placement
Once standing water is removed, technicians place air movers to create targeted airflow across wet surfaces, baseboards, and hidden edges so moisture evaporates faster.
You’ll see them angle equipment to push air over materials, not straight at one spot, because balanced flow pulls moisture from carpets, drywall, and trim.
They open pathways between rooms, lift furniture feet, and avoid dead zones where dampness lingers.
You can help by keeping doors positioned as directed and clearing obstacles.
Pros pair airflow with dehumidifiers, so vapor leaves the air instead of settling back onto surfaces.
This setup shortens drying time, limits secondary damage, and gives your team the best chance to restore a safe, dry space.
Tools Used for Water Damage Drying
Effective water damage drying relies on specialized tools that remove moisture quickly and control indoor conditions.
You’ll typically use air movers, dehumidifiers, and moisture meters as a coordinated system. Air movers push humid air off wet surfaces, helping evaporation happen faster. Dehumidifiers capture that moisture from the air so the space can’t re-wet materials.
Moisture meters let you track hidden dampness in floors, walls, and framing, so you can adjust your setup with confidence. When you use these tools correctly, you stay in control and support a cleaner recovery.
- Air movers for surface evaporation
- Dehumidifiers for humidity control
- Moisture meters for precise monitoring
Signs Water Damage Drying Is Working
With the drying equipment in place, you can check whether the process is actually working by watching for measurable changes in the affected area.
You should see moisture readings drop on a meter, and surfaces should feel progressively less damp. Warped flooring may begin to settle, painted walls can lose their cool, clammy feel, and humidity in the room should trend downward.
You’ll also notice reduced odor as trapped moisture leaves materials. Keep comparing readings from the same test points each day so you can confirm steady progress.
If your space is part of a larger restoration effort, these signs help you stay aligned with the team and know the drying plan is on track. Track results consistently, and you’ll recognize when the structure is moving toward dry conditions.
Common Drying Delays and Problems
Drying can stall when hidden moisture remains trapped in cavities, insulation, or subflooring, because surface dryness doesn’t always mean the structure is fully dry. You should check airflow, temperature, and dehumidifier placement to keep the system balanced.
Blocked vents, overpacked rooms, and wet materials stacked together slow evaporation and can leave pockets damp. If you’re managing the job, stay alert for these common problems:
- Poor air circulation around walls and trim
- Saturated pads, carpet, or insulation holding water
- Equipment cycles interrupted by power loss or misplacement
You can reduce delays by opening access points, removing unsalvageable materials, and monitoring readings daily.
When you track conditions closely, you stay aligned with the crew and help the space dry faster and more predictably.
Why Proper Drying Prevents Mold Growth
When moisture stays in building materials, mold can start growing in as little as 24 to 48 hours, so thorough drying is critical after water damage.
You need to reduce the material’s moisture content below the level mold requires to colonize. Use air movers, dehumidifiers, and heat to pull water from drywall, wood, and insulation.
Monitor moisture with meters, not guesswork, so you know when hidden cavities are dry too. If you leave damp pockets behind, mold spores can settle and spread fast.
Proper drying also limits odors, staining, and structural weakening, helping your restoration stay on track.
When you verify dryness, you protect your space and your people, and you keep your recovery moving forward with confidence.
Frequently Asked Questions
How Long Does Water Damage Drying Usually Take?
You’ll usually need 3–5 days to dry minor water damage, but severe saturation can take a week or longer. You should monitor moisture daily, use professional equipment, and act fast to prevent mold.
Can Furniture Be Saved After Water Damage Drying?
Yes, you can often save furniture if you dry it quickly, clean it thoroughly, and check for structural damage. You’ll need to discard warped, swollen, or moldy pieces, and document everything before restoration.
Does Carpet Need to Be Replaced After Flooding?
Not always. If you dry it quickly, clean it thoroughly, and the backing or pad isn’t delaminated, you can often keep it. You’ll replace it when contamination, mold, or persistent odors remain.
When Should Electrical Systems Be Inspected After Water Damage?
You should inspect electrical systems immediately after water damage, but only after you’ve shut off power and kept clear of wet areas. Then, you’ll need a licensed electrician to test everything before re-energizing circuits.
Is Insurance Likely to Cover Water Damage Drying Costs?
Yes, insurance often covers drying costs if a covered peril caused the damage, but you’ll need prompt reporting, documentation, and policy review. You should verify exclusions, deductibles, and mitigation requirements with your adjuster quickly.
Wrap-Up
You can see water damage drying as a race between control and chaos. You remove standing water, move air, and pull humidity down, while hidden moisture tries to stay trapped in walls, floors, and cavities. When you monitor conditions and use the right tools, you speed recovery and limit structural loss. If you dry thoroughly now, you don’t just restore materials—you stop mold before it starts and protect the building’s long-term integrity.