

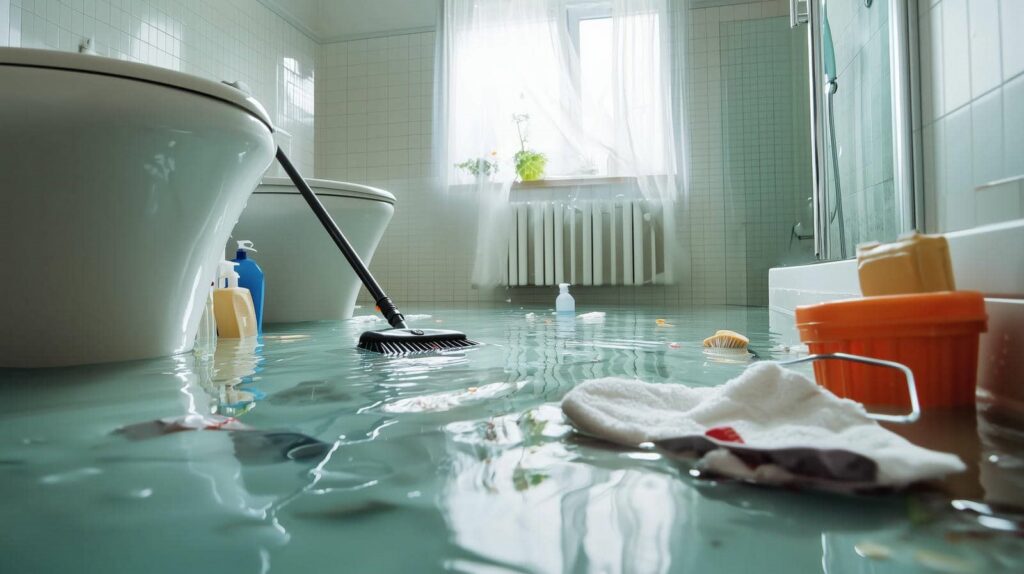
Like a ship taking on water, your hardwood floor can shift fast from minor spill to major damage. You need to stop the source, pull out standing moisture, and drive airflow across the boards before cupping or buckling sets in. Then you can assess stains, soft spots, and hidden mold, and decide whether drying, board replacement, or full repair is the right move—because the next steps can change everything.
Key Takeaways
- Shut off the water source, cut power near the area, and move furniture or rugs to prevent further damage.
- Remove standing water quickly, then use fans and dehumidifiers with closed windows and doors to speed drying.
- Inspect for cupping, warping, discoloration, soft spots, and hidden moisture in boards and subfloor with a moisture meter.
- Clean mold or mildew safely with gloves, ventilation, and a HEPA vacuum before applying appropriate cleaners.
- Replace damaged boards, refinish the floor, and inspect plumbing, humidity, and leaks to prevent future water damage.
Stop the Water Fast
Shut off the water source immediately to limit how far the hardwood floor water damage spreads. You should close the nearest valve, then verify that the leak has stopped by checking faucets, appliances, and supply lines.
If the source is inside a wall or under a fixture, cut power to nearby electrical circuits before you touch standing water. Next, move rugs, furniture, and portable electronics away from the affected area so you can work safely and protect the room.
Document the hardwood floor water damage with photos before you change anything; this helps with insurance and repair planning. If you can’t isolate the source quickly, call a licensed plumber or restoration pro right away.
Acting fast keeps your home’s structure, your crew, and your next steps on track.
Dry Hardwood Floors Before They Warp
You need to remove standing moisture right away with towels, a wet vac, or a pump to limit absorption into the boards.
Then you should increase airflow with fans and run dehumidifiers to pull moisture from the wood and subfloor.
Check the planks for cupping, crowning, or edge lift as they dry, because early warping signals further repair is needed.
Immediate Moisture Removal
When hardwood floors take on water, immediate moisture removal matters because standing liquid and trapped humidity can push boards into cupping, swelling, and permanent warping.
You should blot or mop up visible water right away, working from the outer edge toward the center to keep the spill contained.
Lift rugs, furniture pads, and any wet items so moisture doesn’t stay trapped against the finish.
Check seams, baseboards, and low spots for hidden liquid, then dry those areas carefully with clean towels.
Don’t let finish or debris smear across the surface.
If you act quickly and methodically, you give your floor the best chance to recover with minimal distortion.
Stay calm, stay organized, and focus on removing every trace of surface moisture before it can penetrate deeper.
Airflow And Dehumidifiers
Once surface water is gone, move air across the floor and pull humidity out of the room to slow warping and help the boards dry evenly.
Set up box fans to sweep air parallel to the boards, not straight down, so you don’t trap moisture under the finish. Run a dehumidifier continuously and keep doors and windows closed so the unit can work efficiently.
If you’ve got more than one room affected, treat each space as a separate drying zone. Check and empty the reservoir often, or route the drain hose to a safe outlet.
Keep the thermostat moderate; warm, dry air supports faster evaporation without stressing the wood. This approach helps you protect the floor with the rest of your home team.
Inspect For Warping
Start inspecting the boards as soon as the surface feels dry, because early warping can appear before the floor is fully dry. You’ll fit in with a careful cleanup crew when you check each plank for cupping, crowning, or edge lift. Use a straightedge and measure gaps at seams, especially near walls, vents, and the leak source.
- Press gently to find soft spots.
- Watch for boards rising at the edges.
- Mark damaged areas with painter’s tape.
- Recheck after 24 hours of drying.
If the floor stays flat, you’re likely ahead of permanent damage. If movement increases, stop walking on it and call a flooring pro.
Quick inspection helps you protect the room, keep moisture from spreading, and stay on track with your team.
Assess the Water Damage
You should first check the damage extent by inspecting the full floor area for discoloration, cupping, swelling, and soft spots.
Then identify the water source so you can stop further intrusion and match the drying approach to the exposure type.
Next, inspect each board for warping, lifting, or separation, since these defects show whether the floor can recover or needs replacement.
Check Damage Extent
Before repairs begin, inspect the hardwood floor carefully to determine how far the water has spread and whether the damage is limited to the surface or has reached the subfloor.
You’ll work best when you map the affected area in clear sections and note changes in color, cupping, crowning, or gaps. Use a moisture meter, then compare readings across nearby boards so you can spot hidden saturation.
- Check edges and seams for swelling.
- Press on boards to find soft spots.
- Lift a sample board if needed.
- Mark all damaged zones before drying.
This careful assessment helps you stay organized, make smarter cleanup choices, and protect the rest of your home with confidence.
Identify Water Source
First, identify where the water came from so you can judge how contaminated the floor may be and how urgent the repair is. If the source is clean supply water from a burst pipe or appliance line, you can usually move faster with standard drying steps.
If it’s dishwasher discharge, toilet overflow, roof seepage, or floodwater, treat the area as higher risk and limit foot traffic. Shut off the source, then document the time, location, and affected rooms so you can coordinate repairs clearly with your crew or contractor.
Trace whether moisture entered from above, below, or a wall edge; that tells you where to isolate the zone and protect adjoining spaces. When you know the source, you’ll make smarter cleanup decisions and keep your team aligned.
Inspect Board Warping
With the water source identified, inspect the boards for cupping, crowning, buckling, and edge swelling to gauge how far the damage has spread.
You’ll want to walk the room slowly and check each plank from multiple angles and under bright light. Use a straightedge to spot uneven surfaces, and press gently to find soft or hollow sections. If boards lift at the seams, moisture may still be active below the finish.
- Mark damaged zones with painter’s tape.
- Measure width changes between planks.
- Compare affected areas to dry sections.
- Note any movement when you step.
This quick assessment helps you join the right cleanup plan, whether that means controlled drying, targeted repairs, or replacement before the floor warps further.
Look for Buckling, Cupping, and Stains
Check the floor surface for buckling, cupping, and stains, because these are early signs that water has penetrated the wood and started to change its shape and finish.
Buckling shows up when boards lift from the subfloor, often along seams or at room edges. Cupping means the board edges rise higher than the center, creating a shallow channel across each plank.
Stains may appear as dark patches, mineral rings, or discoloration that follows spills or leaks. You should inspect in bright light and run your hand across the boards to feel uneven spots.
Mark each affected area, then photograph it for your records. This helps you stay organized and gives your repair team clear, shared reference points.
Decide Whether the Floor Can Be Saved
Now that you’ve identified visible damage, determine whether the floor can be restored or needs replacement by checking how deep the water reached, how long the boards stayed wet, and whether the wood has started to separate, swell, or delaminate.
You’ll make a sound call when you compare surface staining with subfloor moisture and board movement.
- Probe seams and edges for soft spots.
- Measure moisture in several boards and the subfloor.
- Confirm the room is drying evenly, not trapping dampness.
- Document changes daily so you can spot recovery early.
If the boards feel stable, dry uniformly, and keep their shape, you’re likely dealing with salvageable damage.
Act quickly, keep airflow steady, and stay with the process; careful assessment gives you the best chance of keeping the floor in the family.
Replace Hardwood Boards That Are Beyond Repair
When boards are too warped, split, cupped, or delaminated to stabilize, you’ll need to replace them rather than try to dry them out.
First, isolate the damaged section and verify the subfloor is dry, level, and sound.
Then remove the affected boards with a saw set to depth, pry bar, and chisel, taking care not to mar adjacent planks.
Match species, thickness, width, grade, and moisture content before you install replacements.
Cut the tongues and grooves as needed, glue and nail the new boards into place, and blend the joints tightly.
Sand lightly to even the surface, then refinish so the patch sits with the rest of your floor.
You’re keeping the room strong, safe, and cohesive for everyone.
Clean Mold, Mildew, and Odors
Once the damaged boards are removed or stabilized, you need to clean up any mold, mildew, and lingering odor before the problem spreads. You should wear gloves, eye protection, and a respirator if spores are visible.
Keep the area ventilated and isolate nearby rooms so you don’t track contamination through the house. Use a HEPA vacuum on dry surfaces first, then wipe affected wood and baseboards with a manufacturer-approved antimicrobial cleaner. Don’t soak the floor; excess moisture can reactivate growth.
- Inspect seams, corners, and underlayment for hidden residue.
- Scrub stains with a soft brush and controlled pressure.
- Dry the area with fans and dehumidifiers.
- Apply an odor neutralizer rated for porous materials.
When you stay methodical, you help your floor recover cleanly and protect the space you share.
Estimate Hardwood Floor Water Damage Repair Costs
Repair costs for hardwood floor water damage usually fall into three buckets: drying, board repair, and finish restoration. You’ll usually pay less when moisture hasn’t reached the subfloor or caused cupping.
Drying may involve dehumidifiers and air movers, while localized board replacement can add labor and matching costs. If the finish only needs sanding and recoating, your bill stays lower; full refinishing costs more because it covers larger areas and requires more time.
Expect pricing to rise when damage spreads, stain colors are custom, or boards are discontinued. Ask for an inspection, moisture readings, and a written estimate so you can compare scopes accurately.
That way, you’re working with a clear plan, not guesswork, and you’ll feel part of the process.
Prevent Future Hardwood Floor Water Damage
Preventing hardwood floor water damage starts with controlling moisture before it reaches the boards. You protect your space when you inspect plumbing, appliances, and window seals regularly. You should keep indoor humidity between 30% and 60% so boards stay dimensionally stable and your home feels cared for.
Install leak detectors under sinks, near water heaters, and beside dishwashers.
Wipe spills immediately and dry seams with a microfiber cloth.
Use mats at entries and seal high-risk connections with compatible caulk.
Refinish worn coatings before water can penetrate exposed wood.
You also need proper ventilation in kitchens, baths, and basements. If you spot cupping, staining, or a musty odor, act fast. Quick response helps your floors stay strong and keeps your household confident together.
Frequently Asked Questions
How Long Does Hardwood Take to Dry After a Leak?
You’ll usually need 24 to 72 hours, but thicker boards or trapped moisture can take longer. You should dry it fast with airflow, dehumidifiers, and leak repair, then check moisture before you refinish or replace anything.
Can Wet Hardwood Floors Be Saved Without Replacement?
Yes—if you catch it fast, you can save them. You’ll need immediate drying, dehumidification, and moisture testing; then assess cupping, staining, and subfloor damage. Act quickly, and you can protect your floor’s future.
What Tools Measure Moisture in Hardwood Flooring?
You can use pin meters, pinless moisture meters, and infrared thermometers with hygrometers. You’ll compare readings across boards, then track drying progress so you can act early, protect your floor, and stay confidently in control.
When Should I Call a Professional for Floor Drying?
You should call a professional when moisture readings stay high after 24–48 hours, the floor cups, or water reached subflooring. Ironically, waiting to “see what happens” usually costs you more, so you’ll fit in faster by acting early.
Will Insurance Cover Hardwood Floor Water Damage Repairs?
Usually, you’ll get coverage if a sudden event caused the damage, like a burst pipe, but not for gradual leaks or neglect. Check your policy, document everything, and file your claim fast.
Recap
You need to act fast when hardwood floor water damage occurs. Shut off the source, remove surface water, and dry the area with fans and dehumidifiers before the boards warp like wet paper. Then inspect for cupping, buckling, stains, soft spots, mold, and odor. If the floor’s structure is intact, clean and restore it. If not, replace damaged boards and seal the area to help prevent another moisture intrusion.